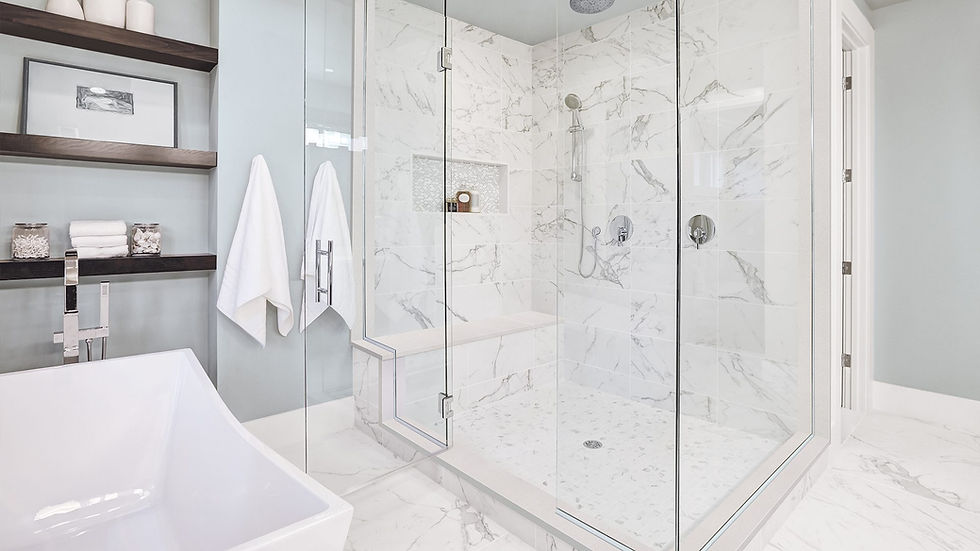
DIY Tile Installation: Our tips for a professional finish
- Studio Tile & Design

- Jun 14, 2023
- 2 min read
Embarking on a DIY tile installation project can be a rewarding endeavor, but it requires careful planning and execution to achieve a polished, professional look. Whether you're tiling a floor, a backsplash, or an entire shower, these pointers will guide you towards a stunning finish.
Preparation is Key: Begin by ensuring your surface is clean, level, and free of debris. Use a leveling compound to rectify any irregularities, and allow it to dry thoroughly before starting the tiling process.
Invest in Quality Tools: Quality tools make a significant difference in the outcome of your project. A tile cutter, spacers, trowels, and a leveling system are indispensable for achieving precise cuts & layouts.
Choose the Right Adhesive: Select an appropriate adhesive based on your tile material and the surface it will be applied to. Consult with a professional or refer to manufacturer recommendations to ensure compatibility.
Mindful Tile Placement: Plan the layout before you start. Take the time to center everything & plan out all your cuts. Avoid layouts that leave small, narrow tiles at the edges & corners, as they can be difficult to cut and install neatly.
Use Tile Spacers Consistently: Tile spacers maintain consistent spacing between tiles, ensuring a uniform & professional look. Be sure to remove them before the adhesive dries.
Cut Tiles with Precision: Invest time in accurate tile cuts. Measure twice, cut once. Use a quality tile cutter for straight lines and a tile nipper for more intricate cuts around fixtures or edges.
Grouting Techniques: Apply grout at a 45-degree angle, using a grout float. Ensure all joints are filled and clean off excess grout promptly. Seal grout lines to prevent staining and water damage.
Patience is a Virtue: Allow ample time for adhesive and grout to cure before any heavy use or foot traffic. Rushing this step can lead to tiles becoming loose or grout cracking.
Finishing Touches: Apply silicone sealant around edges and corners to prevent moisture from seeping beneath the tiles. This step adds a professional touch and prolongs the lifespan of your tile installation.
Regular Maintenance: Keep your tiled surface looking pristine by regularly cleaning and inspecting for any signs of wear or damage. Promptly replace any damaged tiles to maintain the overall integrity of the installation.
If you follow this advice, you'll be well on your way to achieving a professional-grade tile installation that enhances the beauty & functionality of your space. Remember, attention to detail and patience are key to a successful installation. Happy tiling!


Comments